- Uncategorized
- Blog
- Getting Started
- Models
- How Do I?
- Mobile SDK
- Android API
- Mobile SDK Overview (Android)
- App Development
- Creating Your SCiO App
- Get SCiO Version
- Read SCiO Battery Status
- Check if calibration is needed
- Prerequisites
- App Registration
- Create Application (Android Studio)
- Import API
- Set Permissions for BLE API
- Rename SCiO
- Login
- Discover SCiO Sensor
- Connect to SCiO Sensor
- Scan a Sample
- Calibrate SCiO Sensor
- SCiO Device callback
- Get the Model ID
- Get CP Models
- Send the Scan to the Cloud for analysis
- Getting Model Results
- iOS API
- Android API
- What Is?
- Frequently Asked Questions
- Can I have more than one SCiO Sensor synced to my phone?
- What researcher development tools are available with my SCiO?
- SCiO Hardware Components
- SCiO Software Components
- What is the minimal amount of samples I need to scan to create a working chemometric model?
- What are the key points for a good data collection?
- Can you help me with the analysis?
- Will you provide me tools to build and test models?
- I want to analyze my data with my own tools, can I do that?
- Can SCiO work with an external light source?
- Can SCiO work outdoors?
- How often does SCiO need to be calibrated and why?
- What is the Solid Sample Holder used for?
- How should I hold SCiO when scanning samples?
Once your app has been added and registered in SCiO Lab, the next step is to create your app in Android Studio.
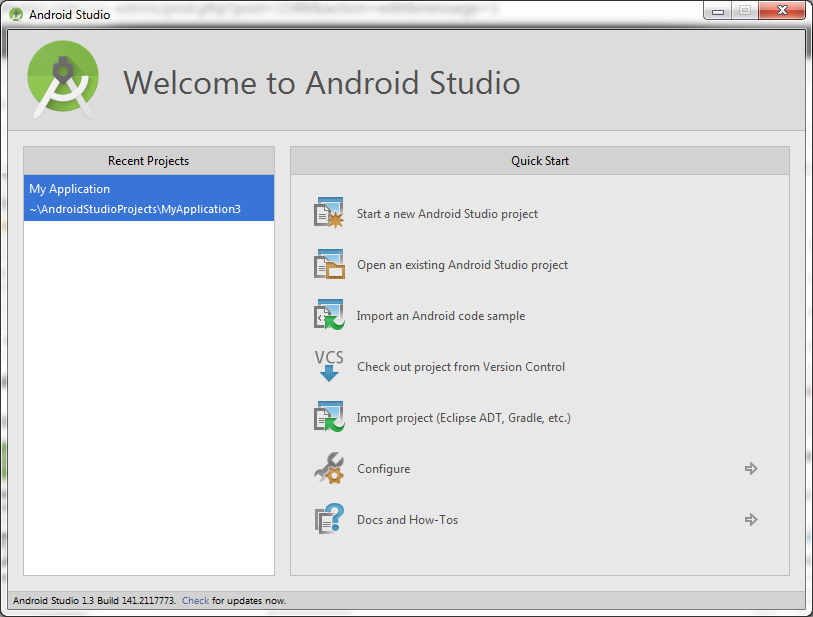
To use Android Studio to develop your mobile app for SCiO:
- In Android Studio, select File > Start a new Android Studio project

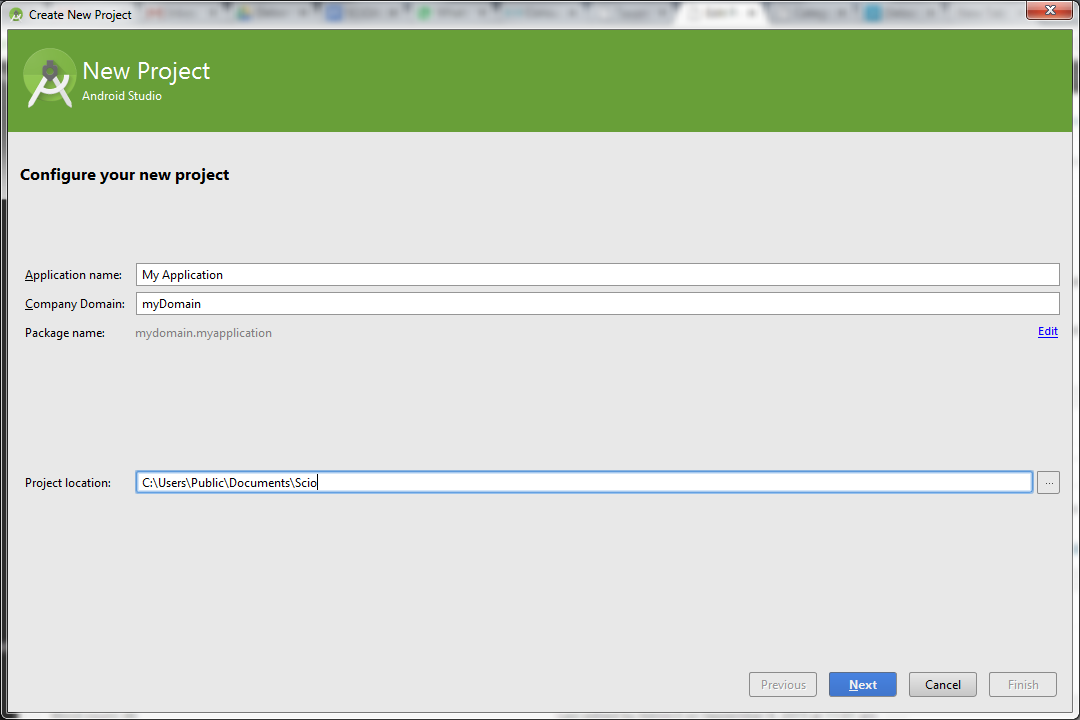
- Enter the app name, domain and the path for the project.

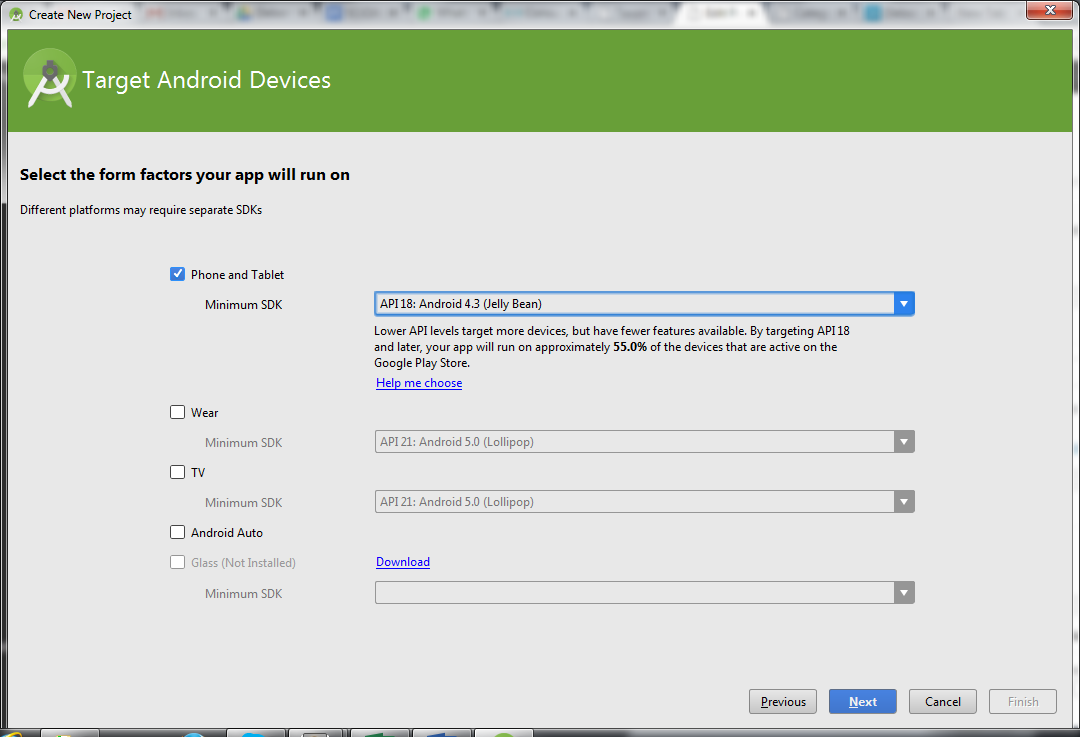
- Select your target device and choose a Minimum SDK of API 18.

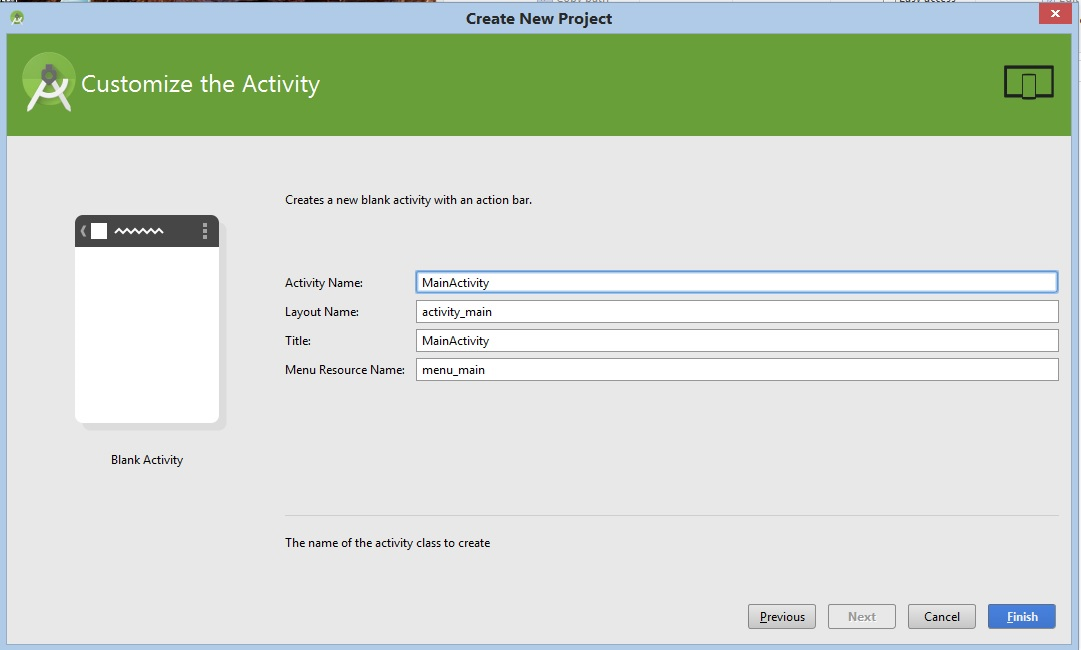
- Add an activity.

- Give the activity a name and click Finish.

Once completed, the next step in the process is to import the API so you can begin to develop your app in Android Studio.